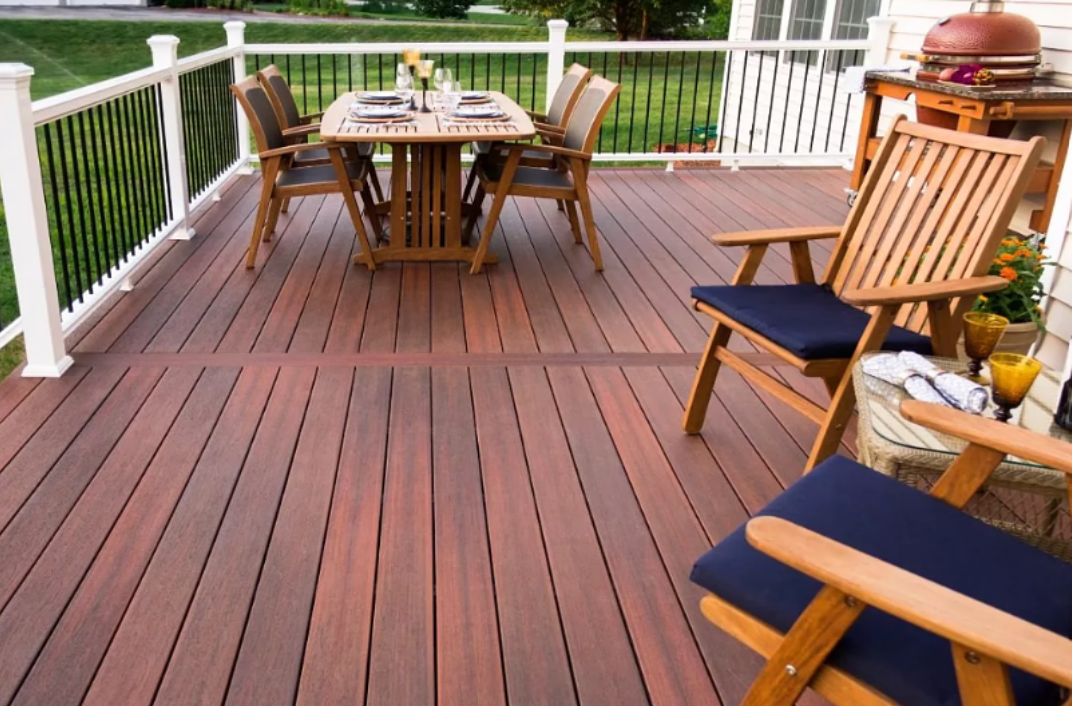
Undoubtedly, a well-crafted deck not only amplifies the property's functionality but also serves as a personalized outdoor retreat. It is the perfect way to enhance the ambience and attraction of your outdoor space. In addition, DIY decking allows you to save some bucks, learn garden decking, and tailor the project to your needs. To ease your dream of having a spacious deck for evening parties or a comfy patio for peaceful morning coffee, we have jotted down the entire process in this write-up!
Step-By-Step Process To Build Your DIY Dream Deck
Are you anxiously waiting to turn your decking ideas into dreams but cannot because you do not know where to start? Does it seem like a daunting task to you?
Well, no need to worry about it as we have got you covered!
Planning the Location and Purpose Of the Deck
Do you want to repent over the miscalculation of deck location after putting in all the time, dollars, and effort? For that purpose, brainstorm about the location and purpose of building the deck. Is it for outdoor dining, random party evenings, or for a cup of morning coffee? Whatever it is, plan the location and purpose before starting to build it!
Pro Tip: Before finalizing the initials of the deck, make sure that it has high accessibility from every aspect. |
Research About the Legalities and Regulations
Do you want to end up getting your dream deck demolished or fined if the authorities find it violates the laws? For this purpose, we would recommend you dive deep into the ins and outs of local building codes. After this, obtain the necessary permits.
Do you know? Most of the regulations refer to: - Height of the Deck |
Measure the area of the Deck and Try Out a Plausible Design
Are you new to building a deck? Well, no need to worry about it as we will help you measure the deck and finalise a design for it. For this purpose, you have to find a graph paper or a top-ranked online design tool that would help map out your deck's measurements – including dimensions and layout!
Along with this, try to incorporate elements such as steps, railings, or designated seating. Once you are done with it, you need to mark the area in your yard with string to practically visualize the deck's footprint.
Get your hands on the best Tools and Materials
There are a couple of tools that you’ll need before starting to work on your project deck. Take a look at the list of tools that we’ve made – just for you:
- Circular saw
- Power drill and decking screws
- Hammer and mallet
- Measuring tape
- Level
- Post-hole digger
- Shovel
Once you have the apt toolbox ready, now you need to have decking boards that would help in making out what you have imagined!
Some of the common decking materials are listed as follows:
- Composite Decking: It is used mostly because it requires low maintenance and is eco-friendly.
- Hardwood: This type of deck wood is long-lasting but pricier.
- Pressure-Treated Wood: It is known for its affordability and durability.
Pro tip: We would highly recommend you choose your material based on your budget, aesthetics, and weather conditions. |
Prepare the Targeted Location For Building The Deck
Suppose you are going to build a deck in the existing garden, what would you first do? Without a second thought, you would:
- Remove any grass or plants
- Clear the debris
- Level the ground
Setup the posts after Digging The Post Hole
After you have levelled the site, we would recommend marking the locations for the deck’s support posts. While placing the post hole, do it in line with the design that was finalized earlier.
After this, dig the holes at least 12 inches deep. In case there is a change in your local law, work as per your local code, ensuring they are evenly spaced. After you are done with the holes, place the poles in the holes while making sure that they are placed vertically. Once placed, add adhesive in the form of concrete. Generally, it would take almost 48 hours for it to dry out!
Pro tip: While placing the post holes, make sure that they are evenly placed! |
Building the Frame and Setting up The Ledger Board:
As one of the most important steps – start working on building the frame. This would involve attaching a ledger board connecting to your house if you want your deck to be connected to it. To make sure that it is fixed properly, we would recommend using lag bolts.
As far as the construction of the outer frame is concerned, connect the deck posts with the assistance of joists – making sure to form the perimeter. In addition to this, make sure that every corner is square. Also, you can use decking oil on the bolts to make sure it is tightened well.
Pro Tip: Try to use the carpenter’s square to ensure that every corner is square. Also, add extra joists in the frame to provide additional structural support! |
Adjust the Deck Boards
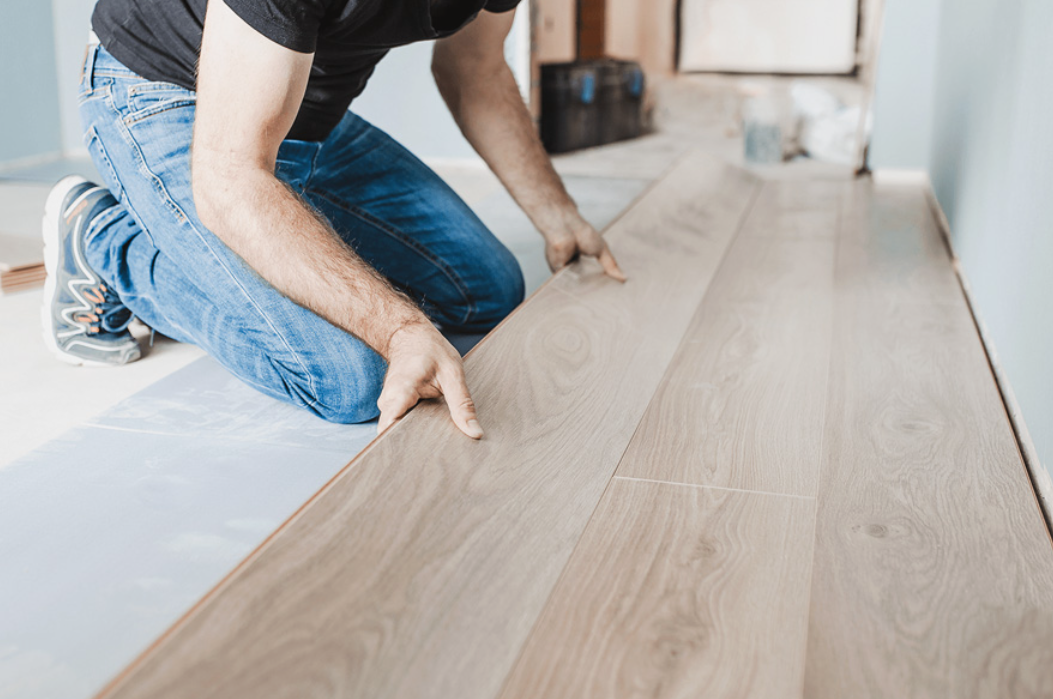
By starting from any edge, you can begin placing the first deck board with the frame’s out. Once placed properly, you can screw it tightly. To maintain 1/8 inches gaps between the boards, consider using spacers. It would help in water drainage to a great extent.
Pro Tip: If you figure a board in excess, use a saw to size it as needed. |
Setup the Railings And Stairs
As an addition, you may also install railings at the boundaries of your deck. If it is higher, stairs can also be used. If you are older, we would recommend you install a standing stairlift to cross the deck stairs easily.
Final Touchdowns For Attractive Visual Appearance:
After you are done with the setup part, start applying decking stain or decking paint to add up to the life of the wood or decking tile. Other than this, it would also light up its appearance. After the finishing, recheck all the screws and wipe off the leftover debris! You may use decking cleaner for this purpose as well!
Pro Tip: If you are an evening party guy, you can add decking lights to add visual appeal to your DIY deck! |
Conclusion:
To sum up, setting up a deck on your own can be daunting. From finding the right material and decking boards to its final touches, it requires skills. However, this write-up will make sure you craft your dreamy deck in a DIY manner!
FAQs
- How much time does it take to build a deck?It may take two to three days, subject to complications and availability of material.
- Is building a deck a DIY task?After reading this writeup, it should become a DIY task!
- Can we also use a decking tile?Yes, you certainly can!

About Author : Eagan Taylor
Hey! I'm Eagan Taylor, I'm a versatile writer with a passion for crafting engaging and thought-provoking content. With a broad range of interests and expertise in various subjects, I can write on multiple topics about local businesses.


